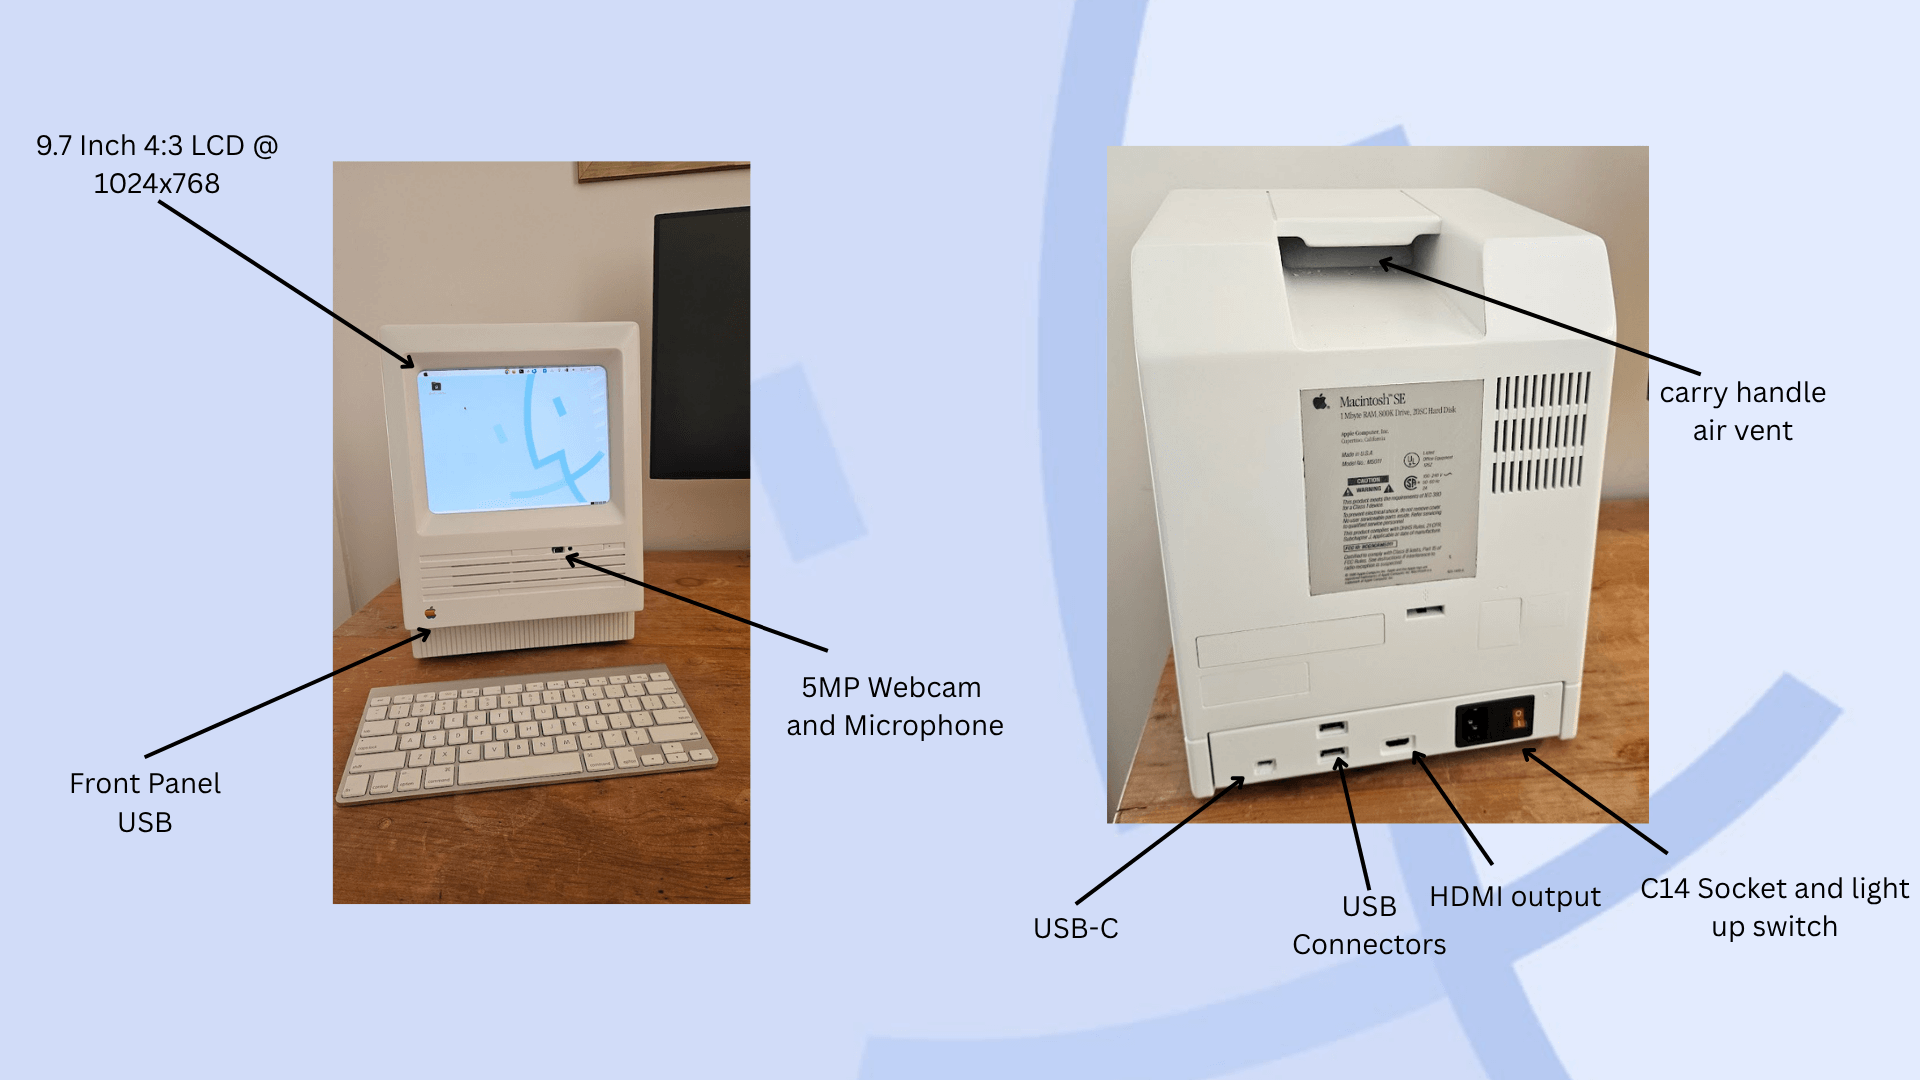
LCD Monitor - HDMI Audio 9.7inch 1024*768 HD 4:3 LCD Controller
Red Rocker Switch Fused IEC320 C14 Inlet Power Socket
USB 2.0 Extension Cable Male To Female with Screw Panel Mount - X 3
Webcam / Microphone - 5MP HD OV5693 USB Camera Module Autofocus 75 Degree
USB-C Extension Male To Female with Screw Panel Mount
HDMI Extension Cable Panel Mount 4K 60Hz HDMI 2.0 Male to female Extension
USB Powered Computer Speakers
Mac SE Bezel - Modified from GeekyBit's & Stephen Lulz's versions as the SE seems to be a slightly diffrent shape than the 512.
Print them in white PETG or PLA and then give them a coat of paint before instalation (note to self!).
Clips to hold the monitor on
I/O backplate
Webcam Mount
The 9.7 inch 1024x768 LCD is larger than the 9inch CRT. The bezel covers some the the screen real estate and you end up with 960x715 of visable area, still much better than the original 512x342 of the original CRT.
To the C14 Inlet socket I attached a small 2 port power strip on the inside of the case and then used it to power the motherboard power supply and the LCD power supply.
The case was already cut by the previous owner, so I didn't have to modify the backplate area, I just had to cover the mess.
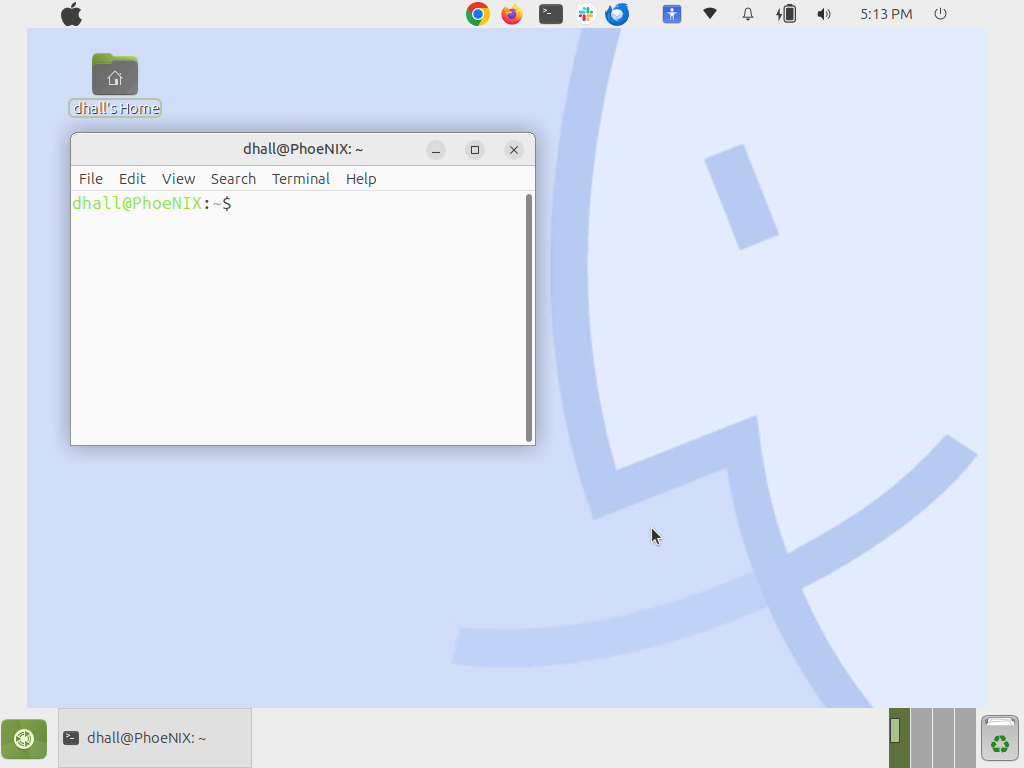
After much trial and error trying to get the screen to resize, I found it easier to create menu bars in Mate that stop those parts being used.
The only change I made to the case was to drill a series of holes under the top handle to allow for improved air flow. If the case was in better condition I would have mounted the C14 socket and switch in their original location.
I'm thinking the Mac 512K might be ready for an M4 Mac Mini transplant. Time will tell.
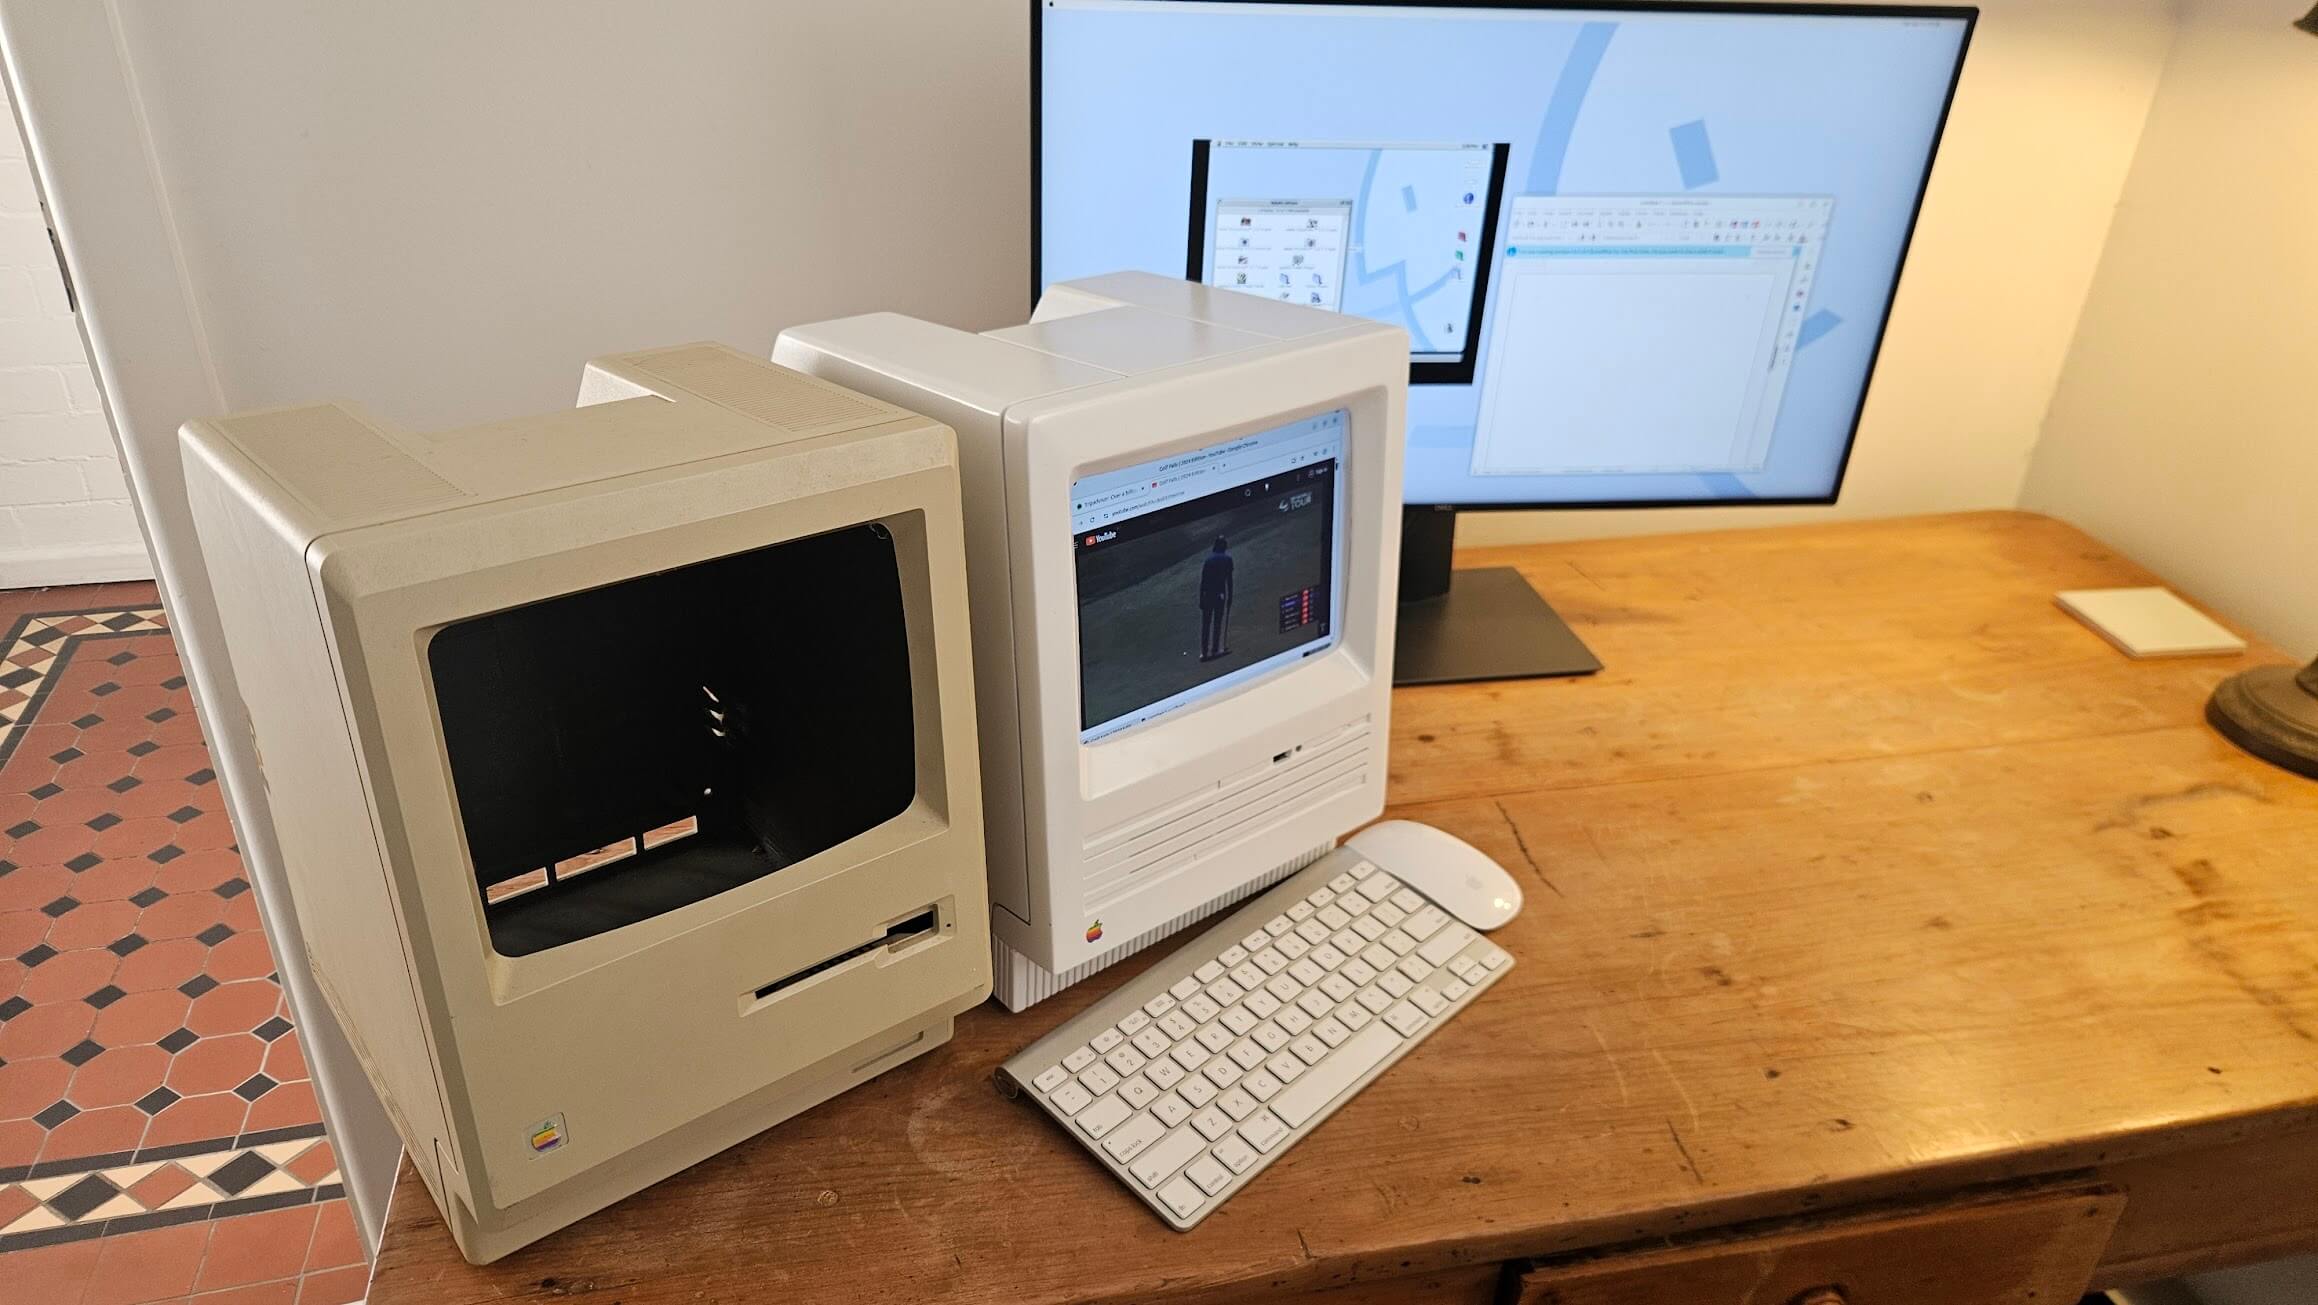

Best viewed at 800x600 resolution.